Today's iPhones come with multiple cameras and sometimes even special sensors to sense 3D space. One of the things that enables is Portrait mode, but that's a side effect of your iPhone being able to detect depth.
Today we're taking a look at Halide's powerful Depth tools, so you can take a look at just what your iPhone's many eyes see...
And take Portrait mode photos, of course.
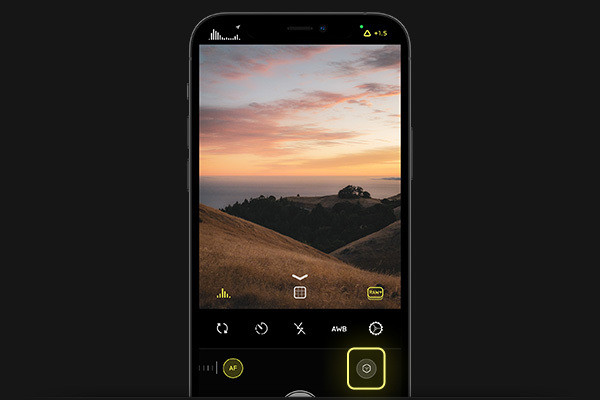
Tap the Depth Mode icon in Halide to start up its Depth Mode.
Depending on your type of iPhone, you can now take photos and preview their Portrait effect, or take photos and see the portrait effect later*. No matter what, Halide will always capture depth data in this mode — you do not have to wait for the camera to 'detect' anything.
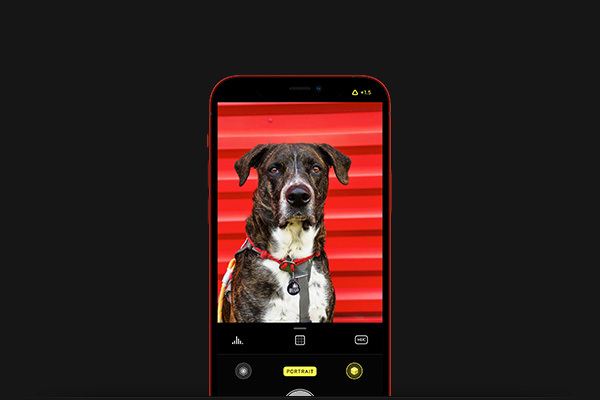
For the best Portrait results, frame a subject with a clear background and tap it. Then take a photo.
Halide will apply its own Portrait effect, but you can also apply Apple's own effect, which enables 'Depth Control' in the Photos app by tapping 'Edit'.
By default, Halide starts Depth Mode in Portrait capture mode. To turn that off, tap the "Portrait" button to turn off Portrait mode.
Halide will now highlight the edges of 3D space — a cool effect we call 'Depth Peaking'. This lets you see you are still capturing depth.
Another cool option is tapping the icon on the far left.

This is the Depth Map view icon, which will let you see what your iPhone sees when it is trying to sense depth.
To view depth information, you can also go into Halide's reviewer and tap the 'Depth' and 'Matte' icons to view the depth data and portrait matte that is generated when you take photos of people.
*iPhone XR and the new iPhone SE are phones that have Depth mode, but cannot show a real-time Portrait effect.
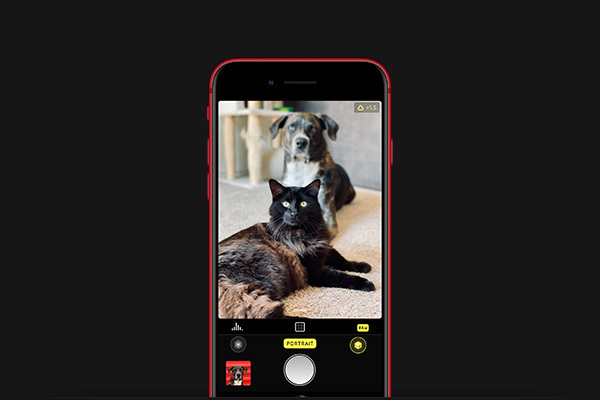
However, Halide does let you take photos of animals and objects, which is impossible with the regular Camera app. Simply take a photo, wait for it to process and then view it in Halide to see the effect.
Always ensure there's a clear and adequate distance between your subject and a background to make sure that Halide can generate a quality depth map to create a Portrait effect.
In our next tutorial, we go fully manual.