
Up until now, you’ve been shooting everything in automatic exposure mode. Halide has been handling the control of all the exposure settings for you so you don’t have to worry about them. However, sometimes it’s useful to shoot at a higher shutter speed (for capturing fast-moving subjects, for instance), or at a low ISO (for less noise). Today, we’ll be taking a look at Halide’s powerful yet intuitive manual mode.
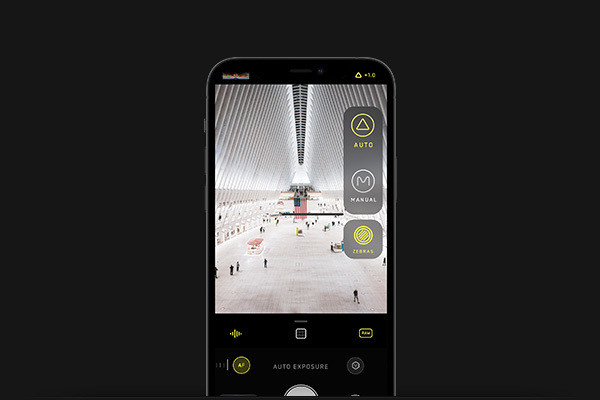
To access manual mode, swipe from the right-edge of your device in the viewfinder. You’ll notice that the top-right EV readout has changed to measure shutter speed. Adjusting shutter speed is now done by vertical swipes. Changing your ISO is as simple as swiping horizontally in the viewfinder.
Shutter speed is the number that will determine how much light your iPhone camera collects.
Longer shutter speeds (that is, a smaller number—shutter speeds are measured in parts of a second, and Halide can go all the way up to 1 second to 1/8000th or smaller!) will make the camera much less responsive, so be aware of that.
ISO is the number that determines how sensitive the camera is to light. The lower, the more light your camera will need to take a photo — but you will also see less noise. The higher you set this, the noisier your shot will become, but the less light you need to get a usable image.
Practice is key to really getting a hang of the various exposure settings and knowing when you might want to prioritize shutter over ISO, or vise versa. However, we’re more than confident that you’ll find Halide’s manual mode extremely intuitive and straightforward.